
I hope that's about as close as I'll ever come to cursing. I am one frustrated piecer. It seems I've lost a row of my Seeds of Kindness quilt.
In this picture, the right two rows are sewn together, but not sewn to each other or the quilt.
Here's what I've been doing to keep it all straight. I have all my unsewn charms in a plastic folder, arranged by colors. When I'm ready to add a new row, I separate and choose colors somewhat randomly, but use twice as many reds and greens as anything else since that's what I have the most of.
Once I have laid out a row, I carefully take it off the design wall and pin a note to it. The note reminds me what direction the first piece goes as well as where on the quilt it will be attached. So it's a small (1-1/2" square) piece that has a square on it representing the pieced part of the quilt with a line where that row will be added, plus an arrow to show me the orientation of the first piece. Simple, huh?
I was brave (or stupid, as it now seems) and laid out 4 rows at once, knowing I couldn't possibly mix them up. Not with my foolproof system, you understand.
When we got home from piano/violin lessons today, I was eager to see how my new rows would look. After all, I had two more rows to attach to my quilt!!
I realized there was a problem at once. I was missing row 1/4. I had 2/4 and 3/4 sewn together and had started on 4/4 (you see how this works?). Because row 1/4 was missing, row 2/4 and the last row of the quilt did not fit together because the pieces were oriented the same direction!!
After searching the house extensively (which was futile from the first, because I always put everything back in my special SOK tote) and realizing that I'll probably find it as soon as I make all new plans for these rows that are already sewn together, I am posting this picture as a stopping place for now.
When quilting gives you lemons, make an apple core quilt.
~Joan, who is not feeling a whole lot like herself and isn't pleased with the poor woman she is right now.
PS: I'm working on this tonight until I can't keep my eyes open any longer. I heard a rumor that my WH is playing bridge with the munchkins, so I'm a free woman.
Friday, April 11, 2008
What in Tarnation?


Saturday, January 3, 2009
Maiden Stitches Made in New Quilt

I am quilting across the HST and in the ditch going the other way, to form an "X" in each of those blocks. I am always interested in what designs others use for their hand quilting, so I'll be giving lots of details with each picture. I like to quilt as far as possible w/o starting in a new place. I also like to mark as little as possible. Just yesterday I ordered another Hera marker. The one I have has a sharp point on the non-marking end that (to me) makes it uncomfortable.
In the above picture, the dark green at the bottom is actually the top outer border. There is a 2" finished cream strip between each of the rows. At the top and bottom of the quilt are a row of HST flipped every other one so that the black (which pulls those rows together) is as shown. I have a perfect stencil for the cream. I used Mark-B-Gone to mark it and have quilted across halfway. I am going to remove those markings today. Then I decided to leave the cream rows for last so the Mark-B-Gone won't be on the quilt as long. My intention was to quilt it from top to bottom. Now that's been changed a smidge. I will skip the cream divider strips until the end.
This was a commercial pattern. I'm not sure if it's still available. I know I sold mine with a kit on eBay. One of the two ladies I made it with emailed me. She doesn't remember the date (other than a really long time ago). She hasn't yet completed the first quilt the 3 of us made together (the original Thimbleberries BOM kit, which I call the calendar quilt). Unfortunately, although I love the quilt, I did not make a label for it or even date it on my Web Shots page. If you want to see it, click on the Web Shots album link to the left. It's in the first album, which consists of my personal quilts.
I also quilted most of the first block of the row quilt last night. Pictures coming later. Hopefully taken with my camera which has spent the last 6-7 weeks vacationing in GA. I hope it comes in the mail today. This new camera is not only taking mostly-fuzzy pictures, but there are white spots on most of the shots. They look like semi-transparent perfectly round circles floating around that don't add to the pictures at all.
~Joan
Saturday, December 27, 2008
Basting...It's a Quilt, Not a Turkey


In the meantime, I have rediscovered the love of hand quilting (at the beginning of this year I hand quilted this piece of history). So I decided to pull out my oldest quilt top and hand quilt it. I never machine quilted it because I thought the machine quilting would distract from the piecing, which is so interesting. I will only show a small piece at a time of the quilt, just to keep your interest. Some of you might recognize the pattern. I'll tell you this much--it's a row quilt. Two of my friends and I each made one. We all made triplicate of 2 rows and swapped them so we all had all 6 of them. I can't remember what year we made it. It was at least 3 years ago, maybe much longer. I'm going to email the other ladies to see if either of them remember. We picked one cream to use for background and the rows inbetween the pieced rows. We also used only Thimbleberries fabric so they would all coordinate. What a fun way to make a quilt with a zillion different pieces in it! This is the second one we made together.
So the picture of the day is my milliner's needle (which is about 8" long), my really bright yellow thread I baste all my quilts with, and a small portion of the quilt. I have picked out a stencil for the cream "stripes" between the rows, so I am all set to start.
My headache finally went away yesterday. Thank you to those who prayed on my behalf. I was so relieved that I slept for 3 hours!!
We had a great time fellowshipping with some friends tonight and got to meet their oldest son (who is here visiting for Christmas--he's 30). Their youngest son turned 18 today, so we had them over for a little birthday get-together. They taught us a new word game, and we loved it.
~Joan
Wednesday, March 24, 2010
Good AM From Gatlinburg
This is the last row on my "row quilt". I finished the quilting on it last night, after playing Boggle (which I won, only because Emily was under the influence of Benadryl) and rummy (which I lost, only because Benjamin takes big chances and had lots of luck!).
Remember that the bright yellow stitches are my basting and will be removed.  Here is all that remains to be quilted in the quilt center...the cream sashing rows and inner border. I'll probably be working on that in the van on the way home this AM. Wish me luck...on the way here our 3-hour trip ended up being over ten hours because of closed interstates and SNOW in the mountains.
I have the top-most row finished and most of one long side. Still a-plenty to do, but a fun kind of design. I am toying with the idea of hand-quilting the wide outer green border, but still entertaining the idea of machine quilting it since it won't show that much. I marked the stencil with a Mark-B-Gone marker. Moving along rathery quickly.
 This was all that remained of the binding that needed to be hand-sewn to the back. I would have finished it while I lounged in the hotel room alone yesterday afternoon, but I left my box of quilting supplies in the van. I still got some much-needed rest, but no more sewing for me. At least then!!
Thursday, August 30, 2012
{Post 1,042} Ohio Quilt Progress
We got back from Ohio last night...sunburned, sniffly, and exhausted. Glad to be sleeping in our own beds again!! Be it ever so humble, there's NO place like home. I like visiting others, but am always grateful to be back in my own little castle.
My son, Ben, drove all the way there and back, so I had plenty of time to read and hand quilt. I read a whole book on the way up and a whole book on the way back. I hand quilted for several hours MOST of one day there. I went to Jo-Ann Fabrics 4 times!! There isn't one near my house, but there was one 4 minutes from my parents' house. I got a great machine quilting book. I will be sharing from that later.
Here is what I got accomplished as far as the hand quilting.
My Grandmother's Flower Garden wall hanging is finished (the hand quilting, that is!). I am going to machine quilt in the border (because one would not see it anyway) and add a hanging sleeve, hopefully today.
In the first picture, I had one row of straight line quilting to do. Can you find the "space"? It runs left to right (mostly) across the purple, red, and blue flowers.


Wednesday, March 20, 2013
{Post 1,137} Start of Spool Quilting
Finally got the backing pieced for my spool quilt. It's been a long time since I made a quilt this big. OK--now that I think about it, maybe not that long (look here).
The difference is that this one has a row of pieced blocks in it. And I might have forgotten to carry a one, making all 3 rows of the backing 10" too narrow, which meant I had to add an 11" piece to each length of fabric. Maybe.
Here is a picture as I rolled the quilt top onto the frame. This is the back of the quilt.


Thursday, January 8, 2009
Starting Row Three
Today, in between grading math lessons and tests and listening to read-alouds, I was able to finish the hand quilting on row 2 of my row quilt and start the 3rd row. Here is the first block in the 3rd row. Notice the simple easy-to-mark quilt lines. I'm going to finish this row by quilting a straight line down the center of each sashing strip and cornerstone.
Here's a view of 4 blocks...2 from row 2 and 2 from 3 (that looks confusing!)...
And last, but not least, a picture of rows 1 and 2 with the quilting finished. The large yellow stitches are my basting, not quilting.

My DH has been gone all day (he usually works from home), and he will be home soon. I need to finish up a few quick things so I can devote the rest of my evening to meeting his every need.
~Joan
Thursday, December 20, 2007
My Broken Leftover Dishes

This is a close-up of MY quilt like the one in the post from yesterday. My 2nd daughter's best friend wanted to learn how to quilt. The girls made the same quilts, in different colors (FWIW, my daughter was already experienced).
When they sewed a square on a rectangle to make a flying geese unit, I had them double sew the seams so we'd have an extra HST square to play with instead of throwing those away. That resulted in some very small HSTs. I made MY friend (my daughter's friend's mother--got that?) a quilt identical to mine. She wants to learn how to hand quilt so she can also hand quilt hers. We'll do that some time this spring, I'd imagine. When I was photographing this, I noticed an omission. Do you see it??
I didn't finish the hand quilting! In the second block from the right in the top row, I neglected to finish the "x" through the block (the top right fourth of the block). I guess that's my humility block. Should I finish it? I used dark brown thread. There is a cable quilted in the border.

I was having trouble getting a picture of this because my human quilt holders were all busy. So this is not flat. But you get the picture.
These little blocks are called "Broken Dishes", but since I made them from pieces of other quilts, I called my quilt "Broken Leftover Dishes". The girls thought that was cute.
I keep this on my living room wall when a seasonal quilt is not residing there.
Does anyone else like to hand quilt? I'm about 2/3 finished with the hand quilting on my 2007 Christmas quilt. I'd like to see your projects. Drop me a line so I can peek at your blog if you have one. If you don't have one, what are you waiting for??
~Joan
Monday, August 22, 2011
{#776} Crumb Quilt Quilted ~ Whoo Hoo

Finished quilting the crumb quilt this AM. I only had about 12" to go. Since my frame is in my bedroom, I rolled out of bed and started it before I even changed out of my jammies.
I started counting the number of pieces in it, but forgot if I had counted one block (fortunately, I was only on the second row of blocks when this happened). Statistics to come.
Several times when I was rolling the quilted part ahead, the batting felt lumpy (like I had picked up a sock or something). I flattened it out best I could. I think it was just the seams from the blocks in the pieced back. I would hate to think that I had ACTUALLY quilted a sock into my quilt!
Had a strange but fun phone call yesterday. I had a cell phone call from a number I didn't recognize (didn't even know where the area code was from). I didn't answer it, thinking it was a wrong number. The person left a voice mail, so I listened to it. It was a woman asking if I could enlarge a quilt I made for her. A plaid rag quilt, black and cream, with red stars. I knew right away she had the wrong person. The only plaid quilt I made was about 18 months ago, and I'd never sold a rag quilt as far as I could remember. So I figured I better call her back and let her know she had the wrong person. She insisted it was me...wasn't I at the Boise show last year? Black hair? Um...NO. Yet she was sure it was me. After all, she had Joan Quilt on her phone. Well, at least that part was right! As I kept explaining that the person she sought was NOT me (I've never been to Idaho or Iowa or any other place she thought I'd been), I told her about my one and only plaid quilt. She said, "Oh--I bought that from you on eBay!" Sure enough, she had bought these two tops. Ends up she never had them quilted, so she's sending them back for me to quilt. I have only machine quilted for a handful of people, so this was a nice surprise.
Have a great day,
~Joan
Tuesday, July 17, 2012
{Post 1,011} Simpler Maple Leaves
This post will have one picture. I was asked by several ladies to explain how I simplified the maple leaf quilt blocks in my last post. My block finished at 3-1/2" square. Here is a crude drawing I made to help show the difference. The top half of the picture is what I was told to sew. I did three blocks that way and was frustrated because of the many lumpy seams. I nearly stopped working on the project altogether. If you look at my picture, they were the three brown blocks. The bottom half of the picture is what I ended up doing!

Each of the 3 rows in the block had 3 squares originally. All orientations are from left to right.
The top row from left to right are:
HST, HST, cream square
Middle row is:
colored square, colored square, HST
Bottom row is:
Stem, colored square, HST
My "squares" (set 3 x 3) all started as 1-1/2" (unfinished size). For the top row, I had to piece the 2 HSTs. For the middle row, instead of sewing two squares to a HST, I just used the flip and sew method of making a HST but instead of making a HST I measured the correct length of the whole unit with a cream triangle at the end. For the bottom row, I shortened the length because the stem unit was on the far left.
Hmmm...I am nearly confused myself. I will just give you the measurements I used and can answer any questions you may have. I cut a 1-1/2" x 9" cream strip. I cut it into six 1-1/2" squares. I also cut a 1-1/2" x 9" colored strip. That I cut into a 3-1/2" piece, a 2-1/2" piece, and two 1-1/2" squares.
If you are using rickrack (which is easy AND so cute), lay that down the center of as many stem units as you will need. Sew them down the center with matching thread. I found it easier to just sew them all on at once then snip them apart.
These are instructions for one block. Sew the two 1-1/2" colored squares and two 1-1/2" cream squares together (one of each color) on the diagonal. Trim 1/4" away from the seam and press open. For the center row, add a cream square to the 3-1/2" colored piece, sewing diagonally, then trim and press open. Be careful that you sew it the right direction. You want the cream triangle to be on the right end, on the bottom corner. Repeat with the 2-1/2" colored strip and another 1-1/2" cream square for the bottom row, having the cream triangle in the same orientation.
Add the stem to the solid end of the 2-1/2" unit. Sew the two HSTs together for the top row with the cream in the top left corner and a solid 1-1/2" cream on the right end.
This truly is easier, creating less bulk because of having fewer seams. Once you do one, you will see. Please feel free to ask any questions. If I were constructing another, I'd take pictures.
~Joan
Wednesday, March 3, 2010
Sewing Some

Not a great picture (but it's the best my 12-year-old daughter standing on a chair in a crowded room could do) of my row quilt. I just have one more block row then the HST row that matches the one at the top. I am going to quilt on the cream between each row by hand, then in the green print border by machine in the border. The end is in sight.
~Joan
Saturday, July 28, 2012
{Post 1,021} Squares Surrounded
I only sewed for a little while on the machine today. I added 4 more rows to my Squares Surrounded quilt. The left edge measures 73" long. I am going to set it by counting the pieced squares...9 x 11. The left edge is 9 long. I need to add 2 more rows before I hit a corner, if that makes sense. All the blocks and setting triangles are pieced for this.
Inspiration hit in the area of keeping track of on-point rows. I used 4 daisy-head pins (shaped like a daisy, but flat...I use them for pinning my quilts onto my leaders on my quilt frame). I numbered them 1-4 and pinned them onto the top triangle of the rows after I laid them out. Then I pinned each block to the next in its row with a regular pin. Pieced them, ironed them, and attached them to the mother ship w/o any mix-ups. Grand!!


Saturday, January 3, 2009
Row Quilt: Row 2, Block 1
 I am counting the HST row as row 1, so this is row 2.
This block is very near completion. I just need to do a little more in the top left triangle (the gold one). Don't worry...I won't be giving you my progress in block by block blog posts! All the Monkey Wrench blocks in this row (there are 5 of them) are made of the same red, blue, and cream. The triangles around each block are scrappy.
One of the things I like so much about hand quilting my extremely scrappy quilts is that you get up close and personal with each fabric. So many of my quilts have the last of a favorite fabric in them.
Since I pieced this with 2 other ladies, I get to see a sample of their Thimbleberries collections. Some must have been designed right after Lynette Jensen got off the ark. I'm talkin' old.
Soon I'll post about my quilty bathroom. Curious??
~Joan
Saturday, April 5, 2008
Where in the World is Joanie Appleseed?
I've had very little sewing time this week, and I'm developing a twitch in my right eye because of it. I miss sewing! What little time I had I devoted to finishing this so I can get it up on the wall.
In addition to little time, I squeezed in one Pay It Forward gift. Turned out really cute, too. I'll post about that after the recipient receives it! I need one more participant for the PIF challenge. Write today!
This apple quilt is a pattern from an old Fons & Porter book. I think the book is called Quick Quilts. It was one of the first quilt books I owned. I made 4 of the quilts in it! I made one of these years ago and gave it to our pastor's wife. She decorates with apples in her kitchen. Anyway, my daughter made a set of blocks, intending to sell the top on eBay. I decided I needed to replace my other apple quilt, so I confiscated them. But the original (with 18 blocks) was too large. I made the other 5 blocks into a smaller top to sell.
This one was machine quilted in the cream and in the outer border. For the ultra curious like myself, I used invisible thread in the outer border and a variegated cream in the cream.
At that point I set it aside because I wanted to hand quilt apples in the setting triangles like I did in my original quilt. So I am in the process of doing that. This is about 39" square.
In this quilt, the top left apple and the 2 in the second row have not been quilted with seeds. Only a few setting triangles are quilted.
 Here is my template for the apples...it was the pattern from the quilt book. I traced it on the setting triangles (only a few are stitched in the picture above) and am hand quilting with dark brown thread. The pencil I use is a "General's Pastel Chalk" in a light grey. It brushes off easily with no trace, but stays put enough to do the quilting.
 Below is my "seed template". The apples were too puffy, but I didn't want to heavily quilt them because of all the seams. So I used a piece of a plastic folder and drew the seeds below. The dot is where the intersection of the 9-patch seams are, and the straight line is where the template lines up with the edge of the apple. After I do the right side (designated by the R), I flip it over and mark the left side. The scratched out line is the line I drew by mistake. Very professional, huh? It works for me. I laid the template on a (clean) facial tissue so you could see it in the picture.
 I'll post about the Seeds of Kindness booboo and further updates later
~Joan
Saturday, March 8, 2008
Seeds of Kindness
Here is my apple core quilt as of yesterday. Many of you know I usually hand sew or quilt in the car for about 2 hours on Fridays. Not to be yesterday. I did attach 2 more horizontal rows that had been pieced earlier.
We have adopted some of the college guys at our church. The college is directly across the street from the violin lesson house. I usually park in the lot there and the boys take turns having lessons. Well, yesterday started spring break, so there wasn't a soul except for the bookstore lady in there. Both boys were disappointed that there wasn't anyone to play pingpong with, so I did the good Mom thing and played pingpong with them instead of hand sewing. I beat boy #1 soundly (even though it's been probably 23-25 years since I've even played a game!). Boy #2 thought it was hilarious until I beat him the same score, 21-3. Not so funny now, is it big guy?
I think I'll just show my apple core quilt every week so you can see the progress. News flash***the quilt will have a new name from henceforth and forevermore. I was thinking about names for quilts the other night when I stayed up so late working on Plan B (which might be Plan B, C, oh, make that D).
I had just asked for donations of scraps for my apple core quilt. I have 9 ladies who have promised to send me pieces. The truly incredible thing is that this is the first time I've "talked" to 7 of them!! I was overwhelmed with the generosity.
Since apple core makes me think of the browning, smelly, slightly repulsive remnants of what used to be something good, I am going to give this quilt a name which will make me think of the generosity and friendship I have discovered since I started blogging. The new name is (drum roll, please)...Seeds of Kindness (apple seeds, naturally). What do you think? Isn't that better?? The quilt is NOT going to Minnie Pearl. The paper pinned to the upper right corner is very small and simply reads "upper right corner". After piddling around and getting all the colors just where I want them, how tragic it would be to sew a row on the wrong side and have two blues touching!!


Monday, April 25, 2022
{Post 1,762} Juicy Fruit Quilt
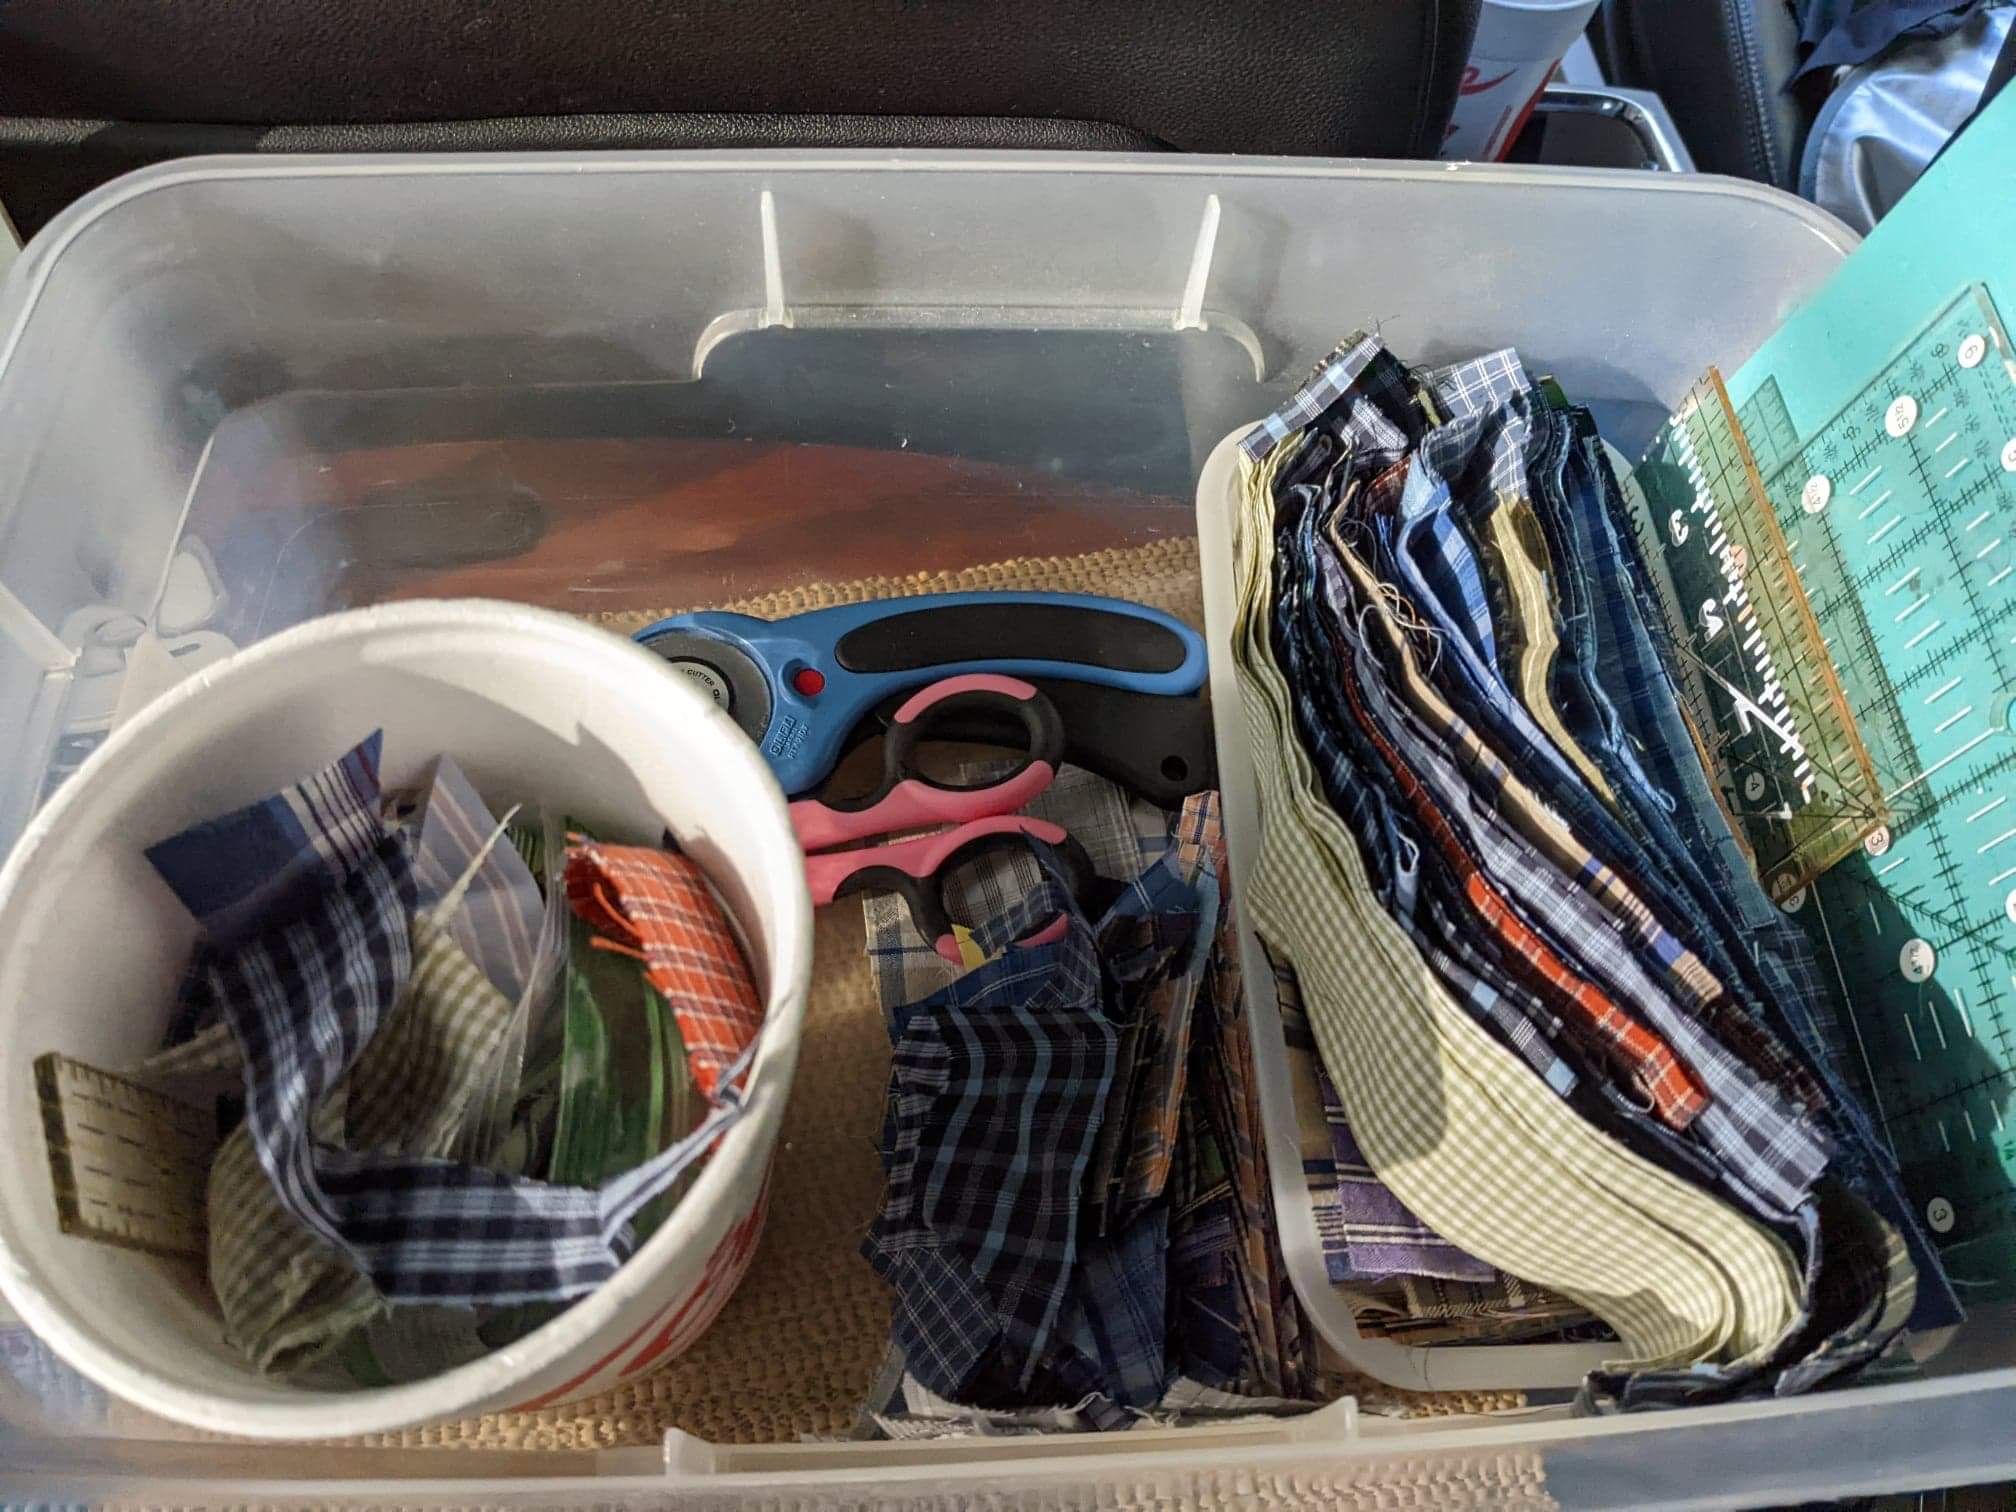
We went to south GA this past weekend. We haven’t seen my oldest son’s family in about a year. I drove all the way down, and my husband drove all the way home. It was about 8 hours in the van one way. As usual, I gave much thought to what I should spend my time on while he drove. It was going to be daylight the whole time, which makes a difference.


This is the box I started with…the styrofoam cup was from lunch. I used it for a trash can. Only the tiniest bits didn’t make the cut, so to speak!

Tuesday, May 21, 2019
{Post 1,667} I’m A Starter
Why is STARTING a new quilt so much more appealing to me than applying that time to a UFO or WIP??
I have started 3 new projects this WEEK so far! Someone stop me!!
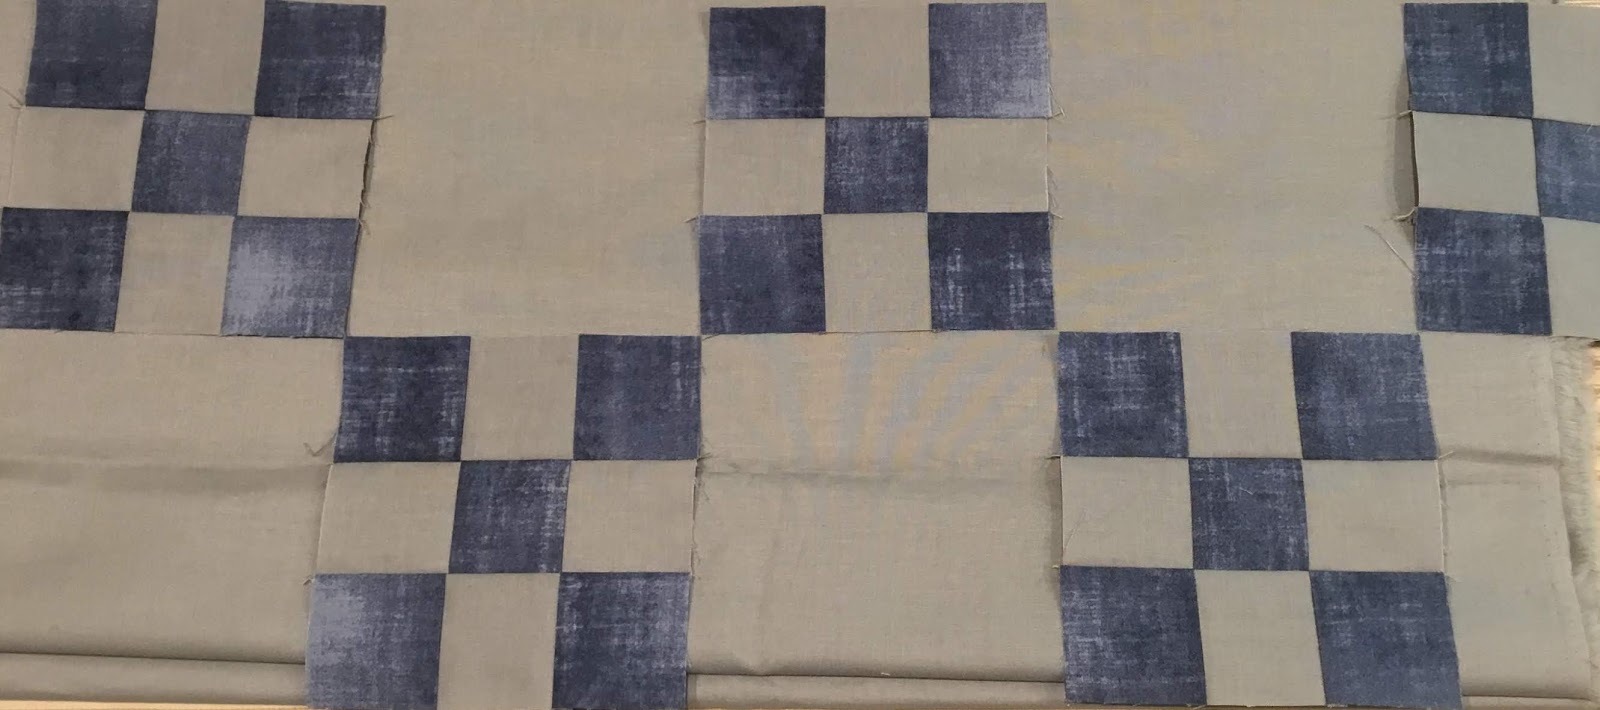
I added a few more blocks to my Geese on a String. There are 24 in each row in the pattern. Here is a little over half of a row (13) for starters. In the picture, on the right side, there are two groups of 3 with orange side triangles that are sewn together (I have not trimmed down the sides yet, so that is why they look off). They are at the very bottom of the row.



Wednesday, January 27, 2010
Hand Quilting Spree

This quilt was pieced with two friends, one of whom I've never met in person. We also pieced this quilt together. Such fun memories!
Stay tuned for more quilty adventures...
~Joan
Sunday, February 28, 2010
Hand Quilting
Here is my row quilt...I am hand quilting it. This is how much I have finished so far. I am starting on the next row. Below I am showing one block. Here is a block from the next row. I have hand quilted it. To show you the difference the quilting makes, the second shot is a side-by-side of the quilted block and an unquilted one. The large yellow stitching is the basting stitches.


I am leaving the Grandmother's Flower Garden for a car project. I am eager to have it done, but am taking advantage of the time to hand quilt for the next couple days.
Wednesday, January 27, 2010
Hand Quilt No More on Row #4...

I am using a stencil to quilt large and small pumpkin seeds touching along the cream separator rows, so even after the pieced rows are finished, there is a long way to go. But even with that said, I am encouraged at the progress.
~Joan